Workspaces
Workspaces are isolated spaces for your notes to help you separate your notes by concern, project, area of work, or similar. For example, you can create a “My Project” workspace to keep your work related notes in, and a “Personal life” workspace to keep your diaries in.
When you launch Darkwrite for the first time, you will choose a name for your first workspace. Every note must belong to a workspace, this is why we initialize a default one for you on first launch.
Create a new workspace
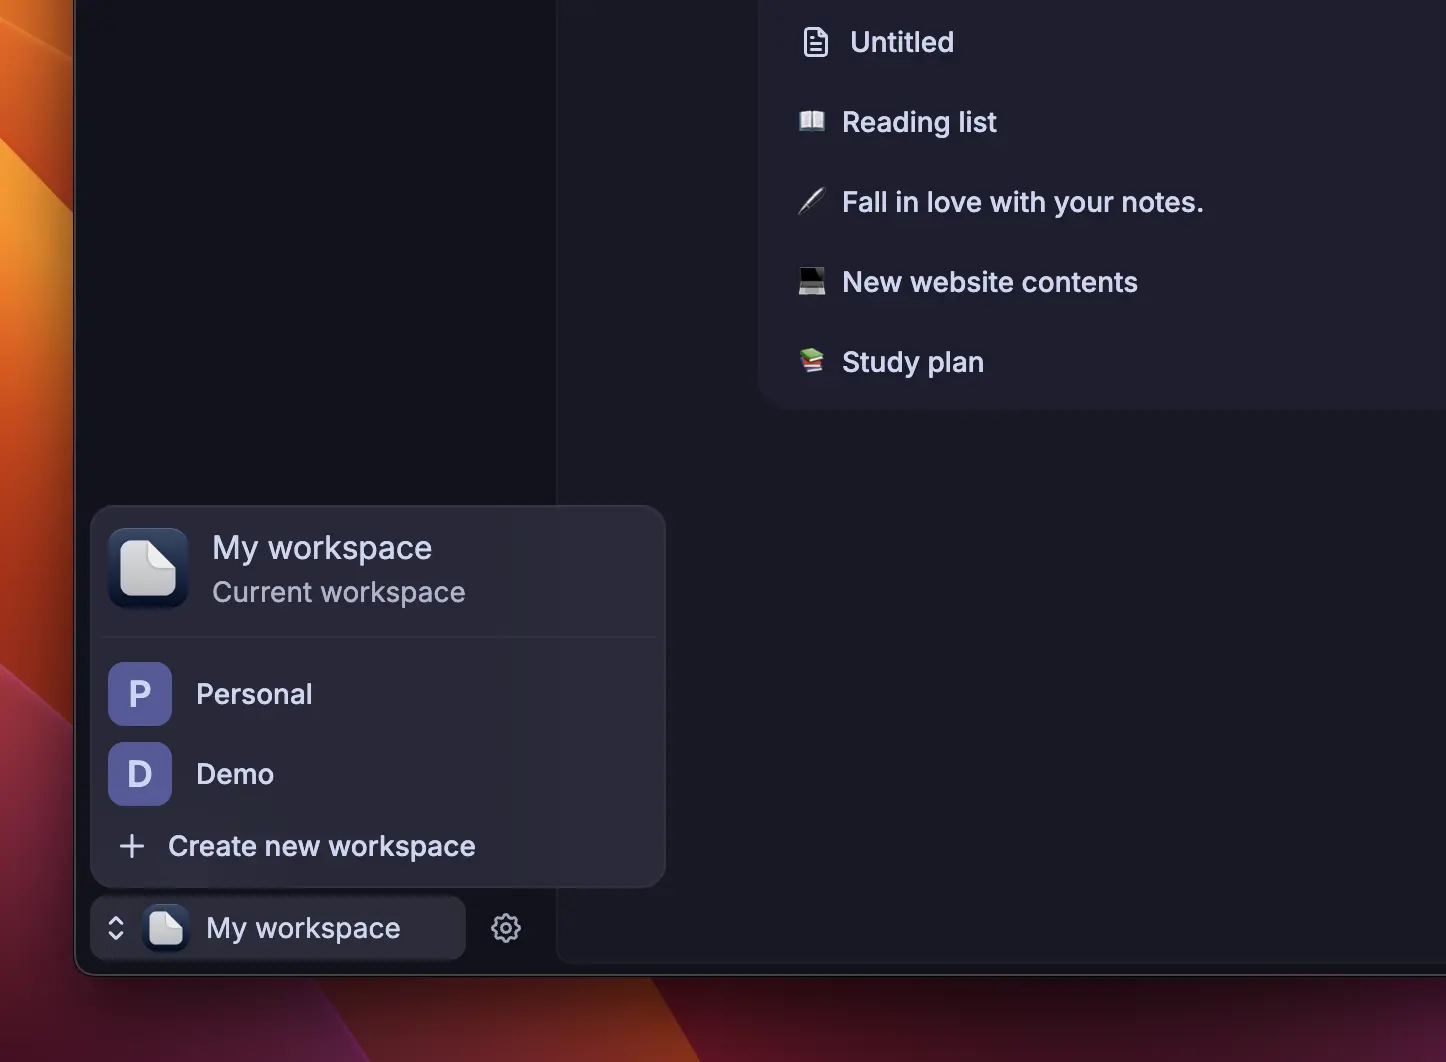
Section titled “Create a new workspace”Using the workspace switcher at the bottom right of the window, at the end of the sidebar, you can create a new workspace by choosing “Create new workspace”.
A dialog will ask for a name for the new workspace. You can always change it later in settings.
Switching to a workspace
Section titled “Switching to a workspace”Choose the workspace from the switcher. It will immediately switch on click.
Edit a workspace
Section titled “Edit a workspace”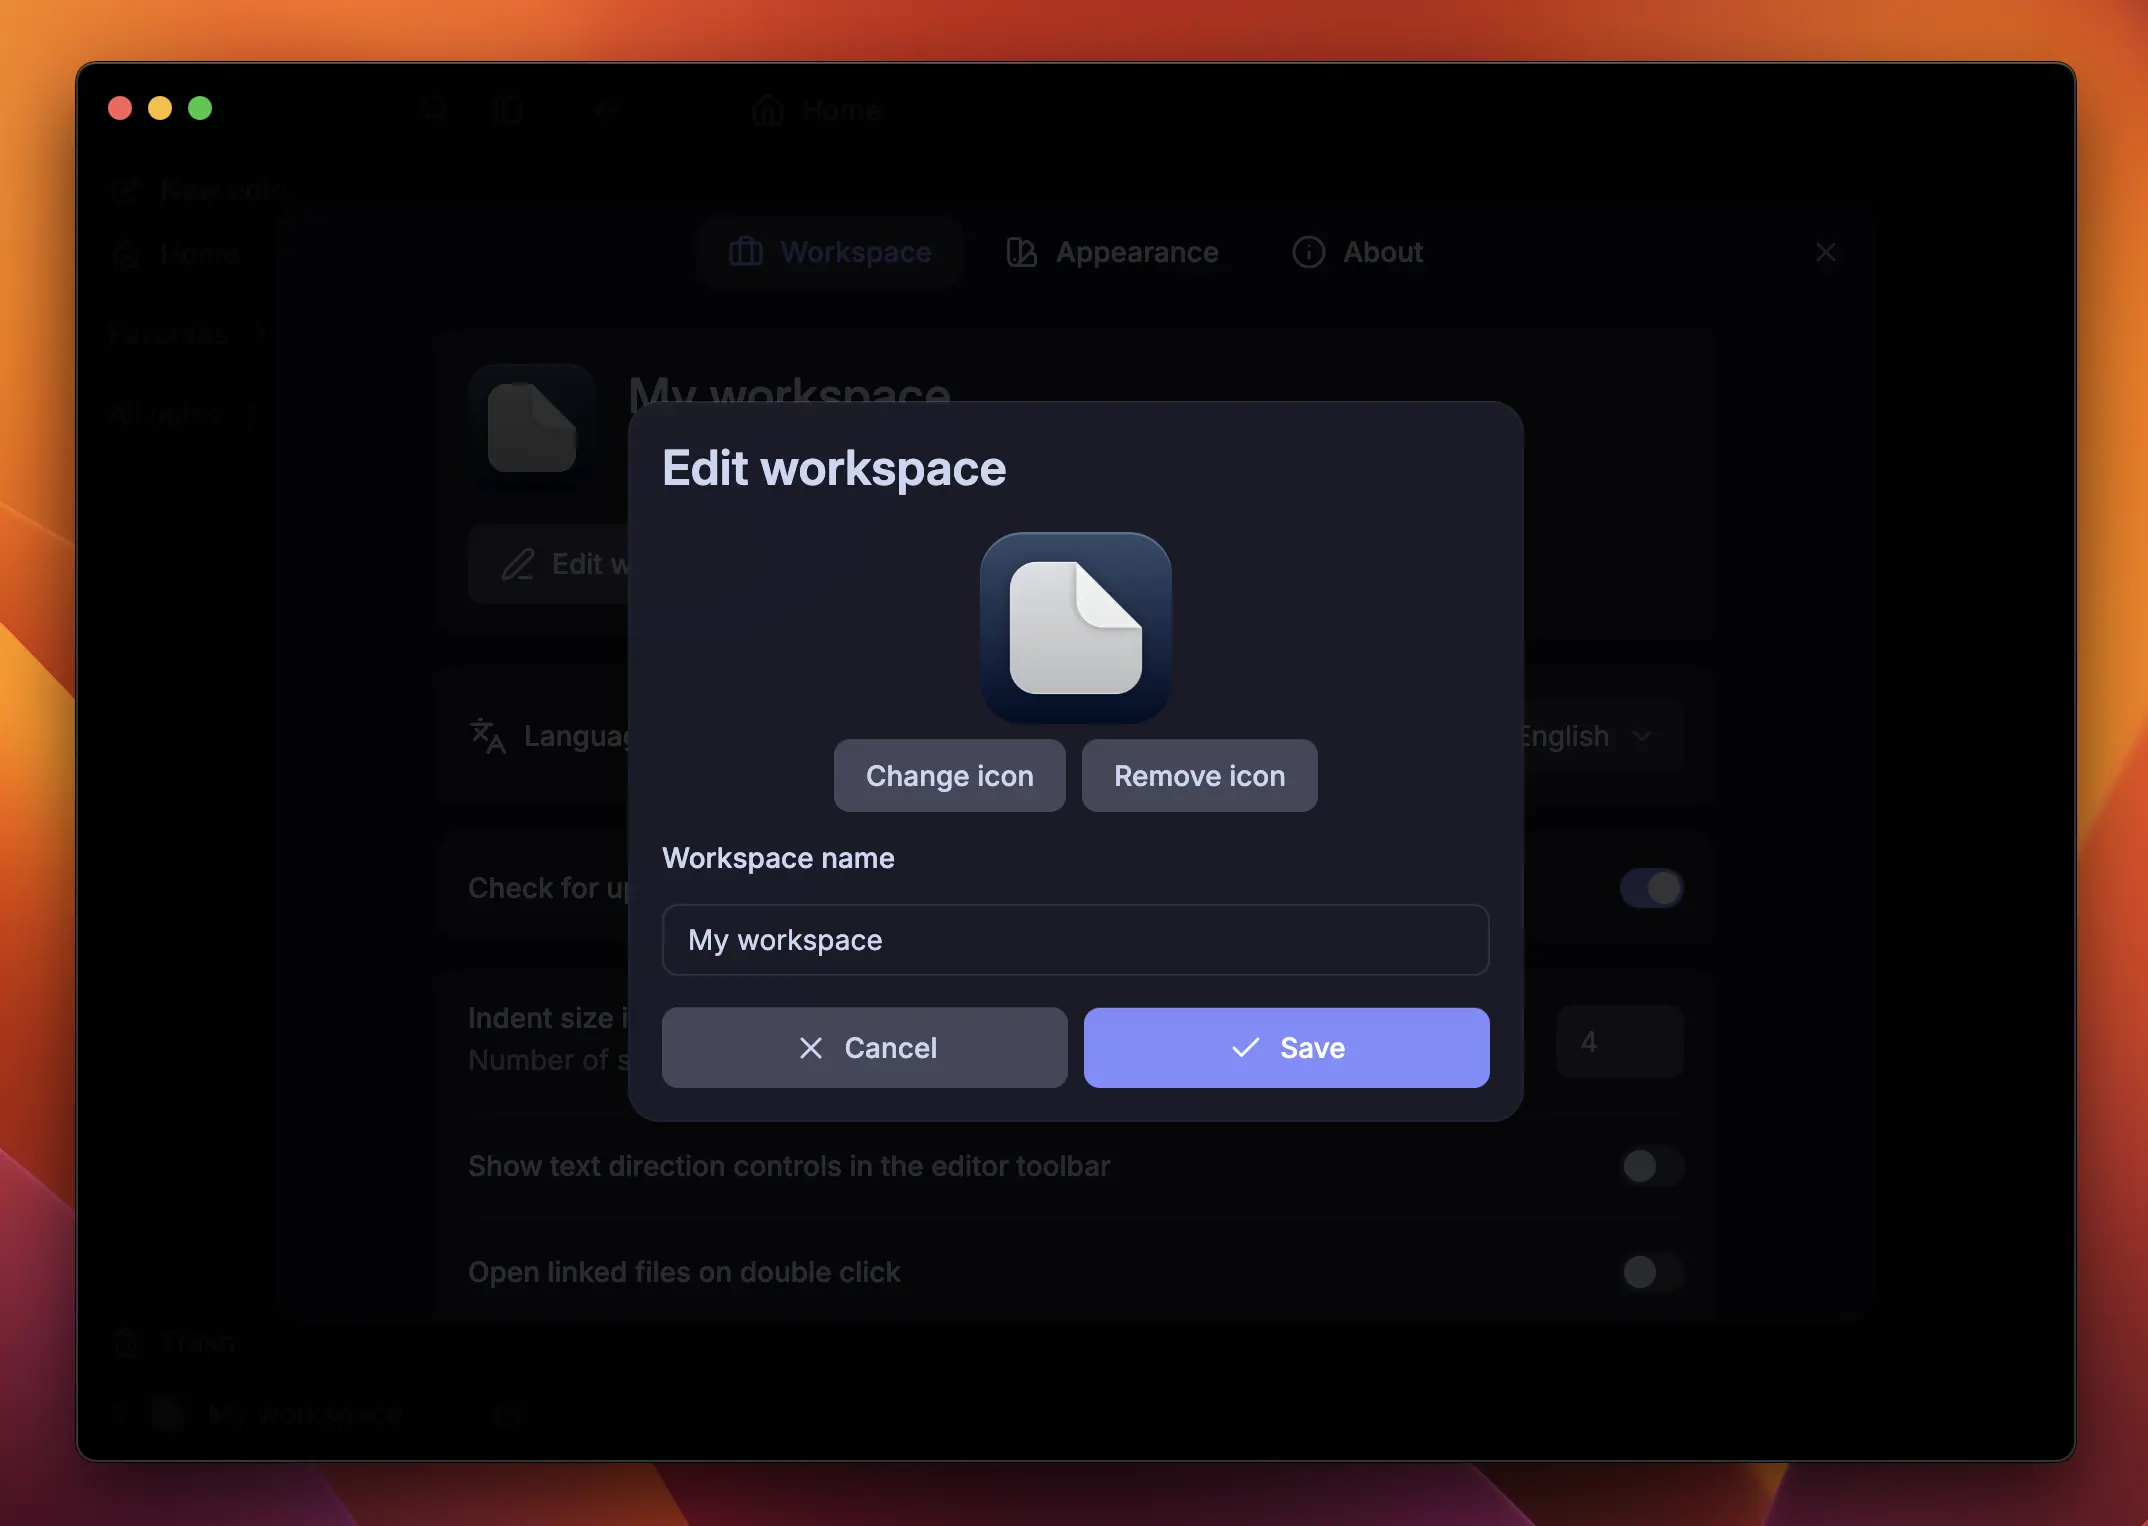
Click the settings icon next to the workspace switcher. In the “Workspace” tab, you’ll see an option to “Edit workspace”. When you click it, a dialog will appear as shown in the image.
You can choose any image as the new icon for your workspace. Cropping your images to a square shape beforehand is recommended to avoid weird looks.
Delete a workspace
Section titled “Delete a workspace”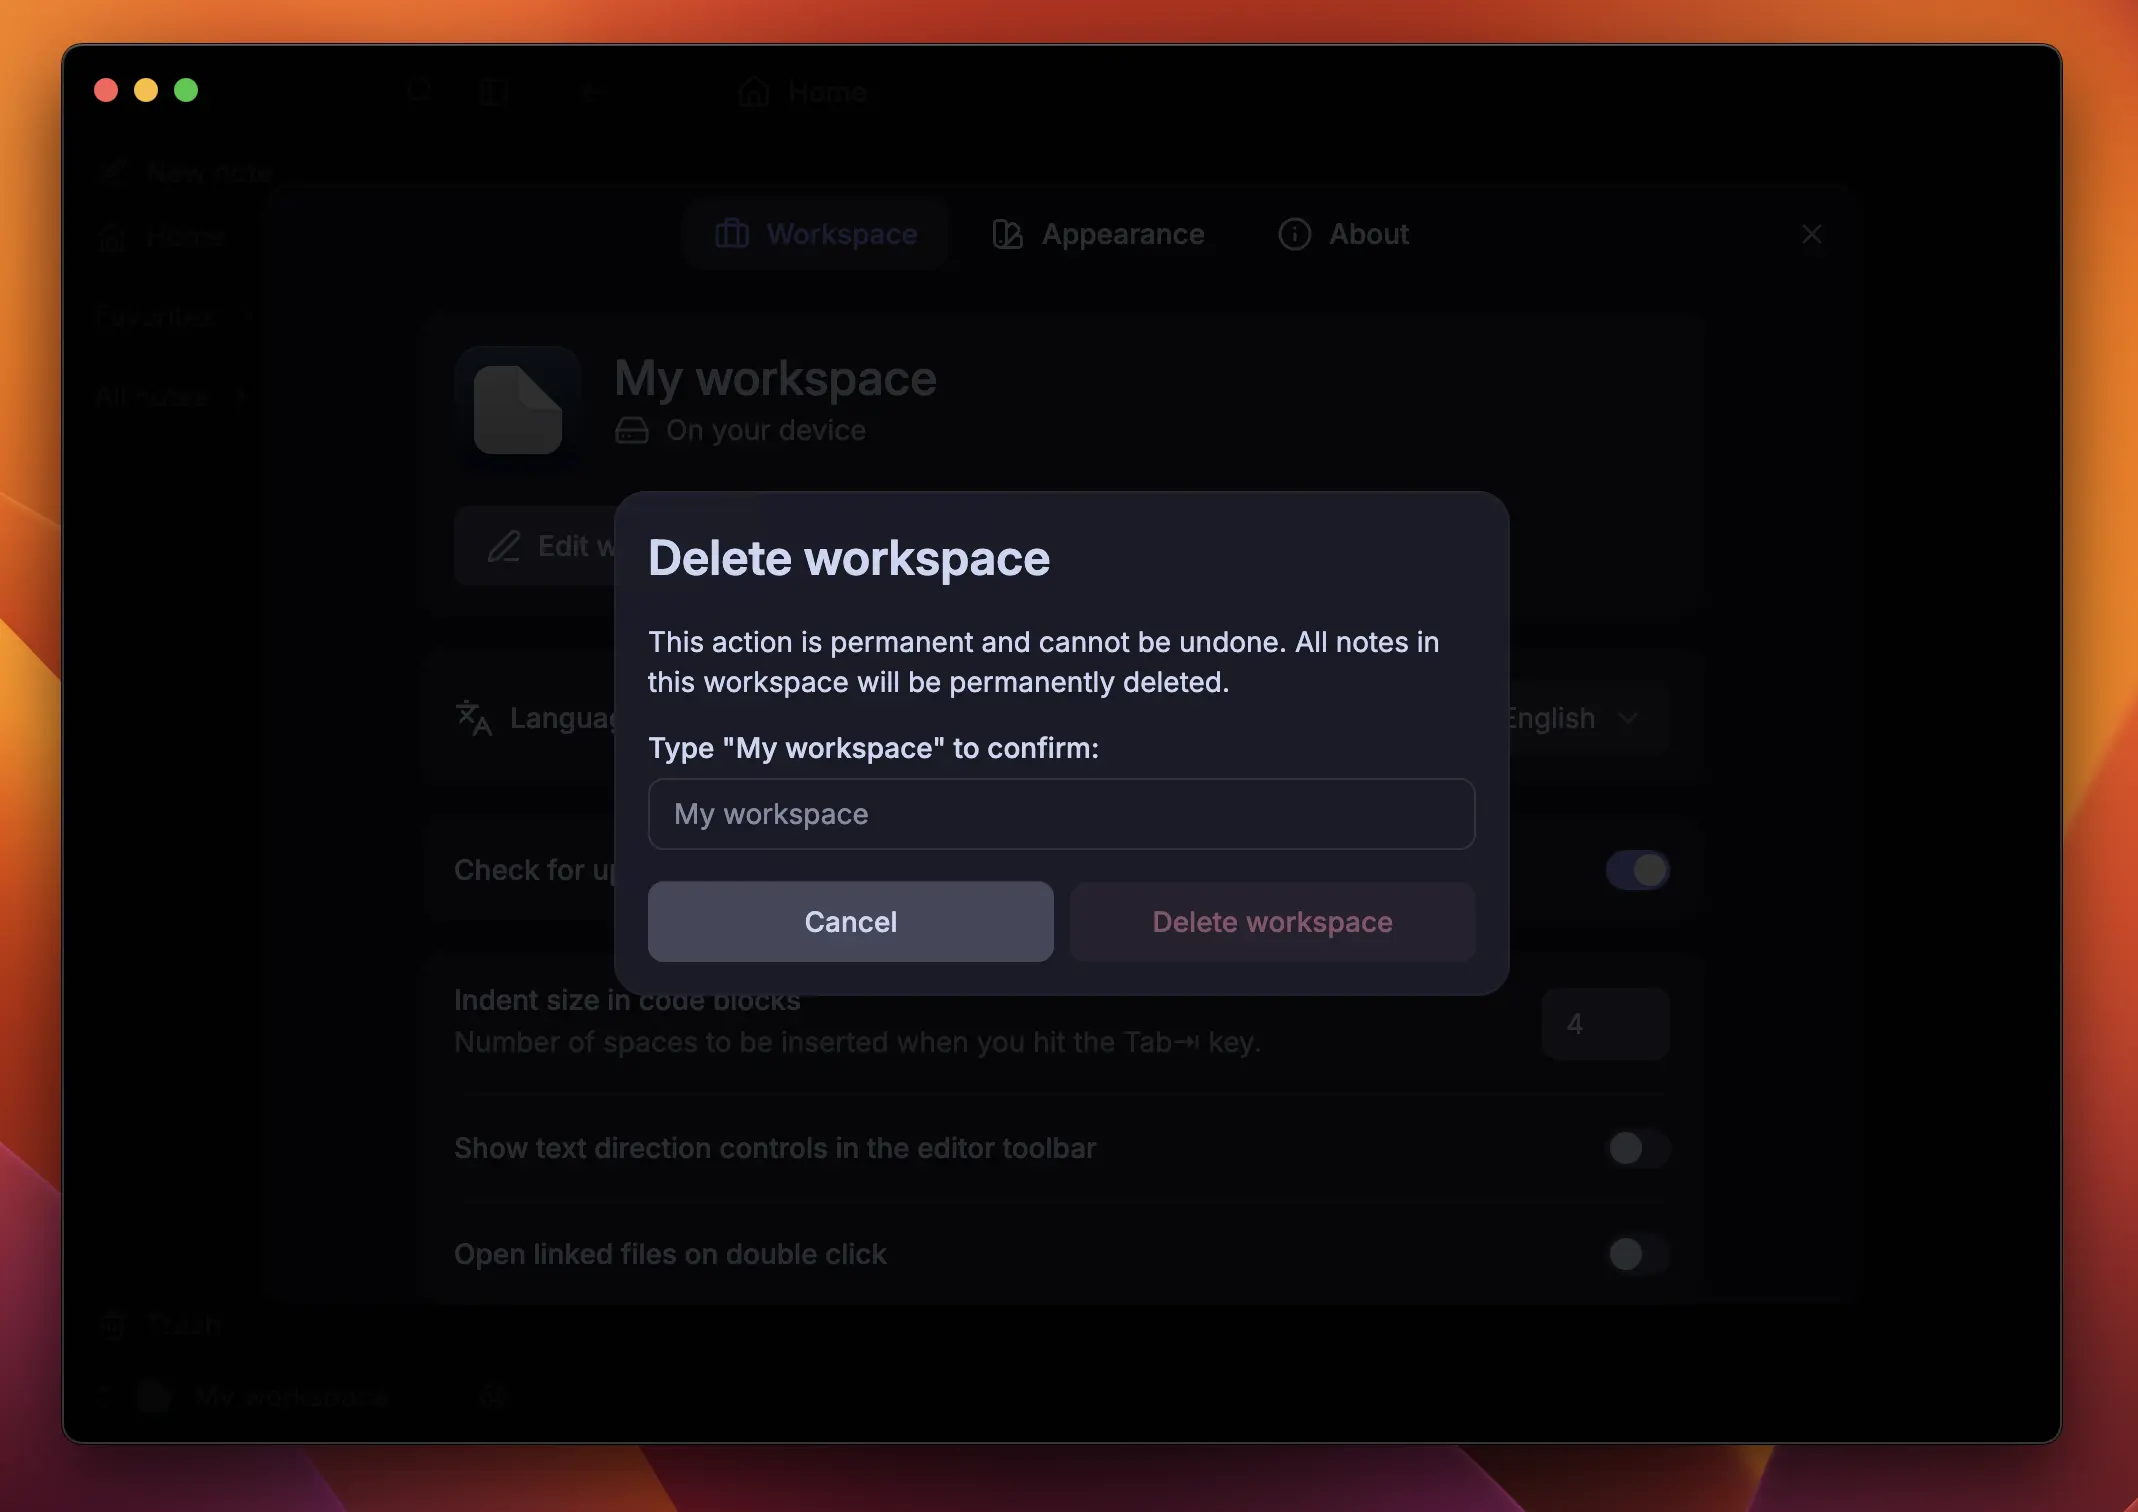
First, switch to the workspace you want to delete. Then open settings, and choose “Delete workspace”. You will be prompted to re-enter the workspace’s name to confirm you are doing this consciously.